Hello Geeks!
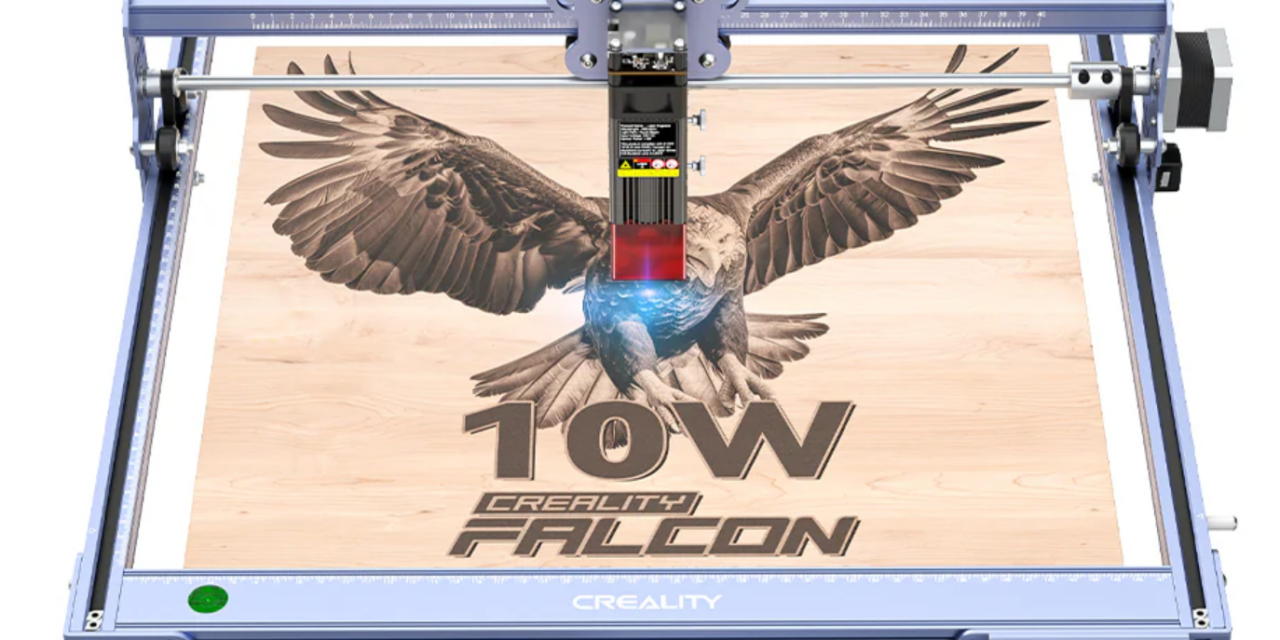
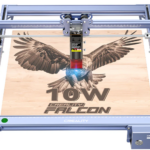
Today we will be taking a look at a laser engraver, one that we all love, the Creality CR-Laser Falcon (10W version) Upgrade Package. This machine that can engrave on or cut through different woods, fabric, leather, acrylic and more. Let’s take a look!
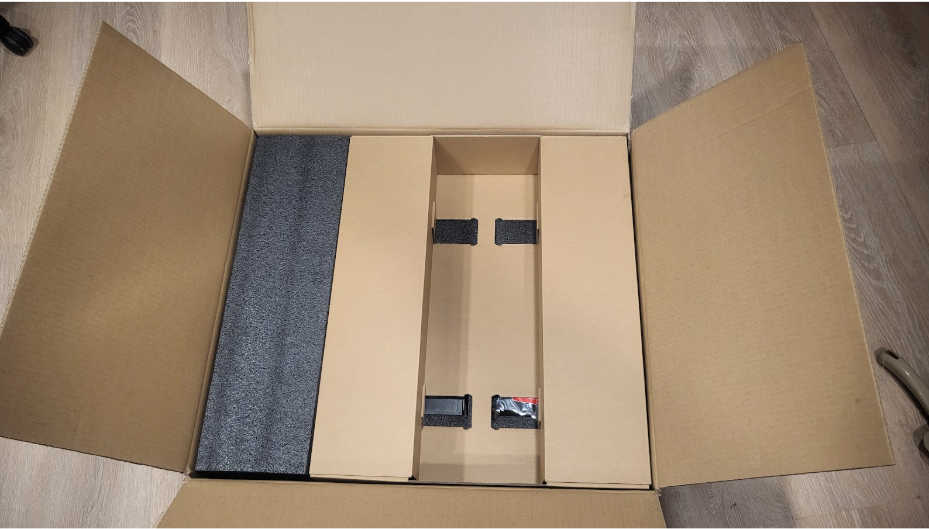
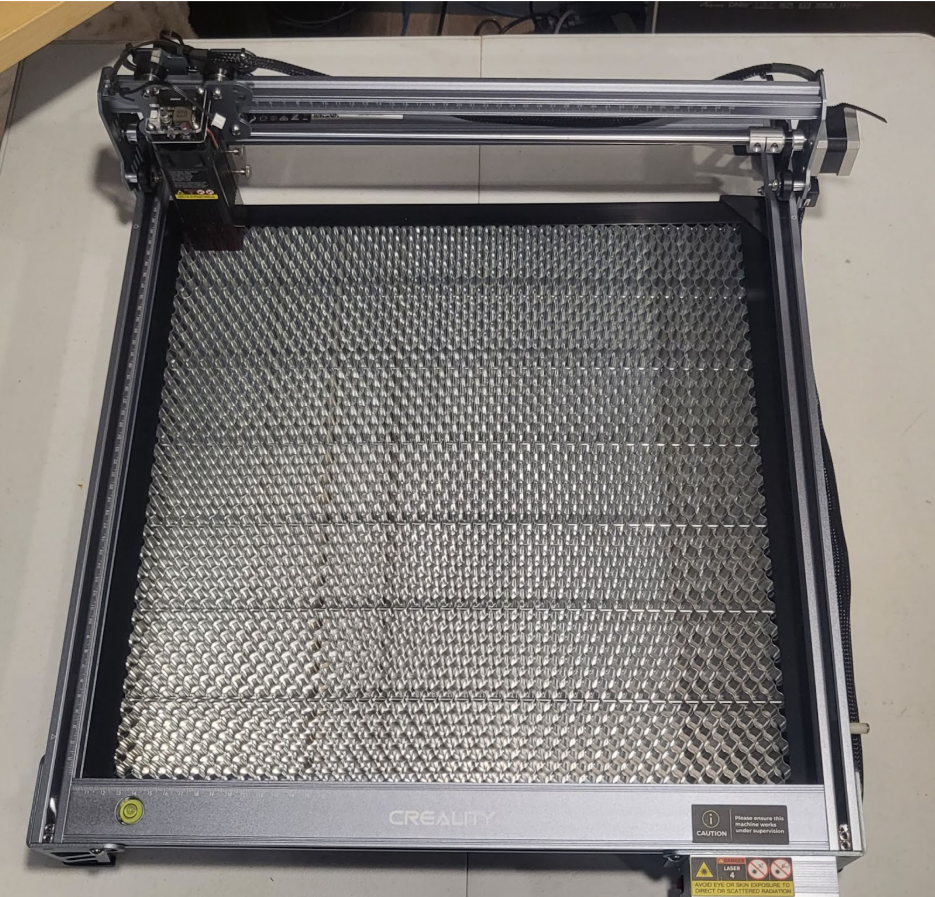
Upon opening the box, I noticed It was packed very snug with not a lot of wiggle room, perfect for shipment.
Remove the top covering, and behold, it is already assembled! This makes it much easier than trying to guess if I have the belt tension perfect.
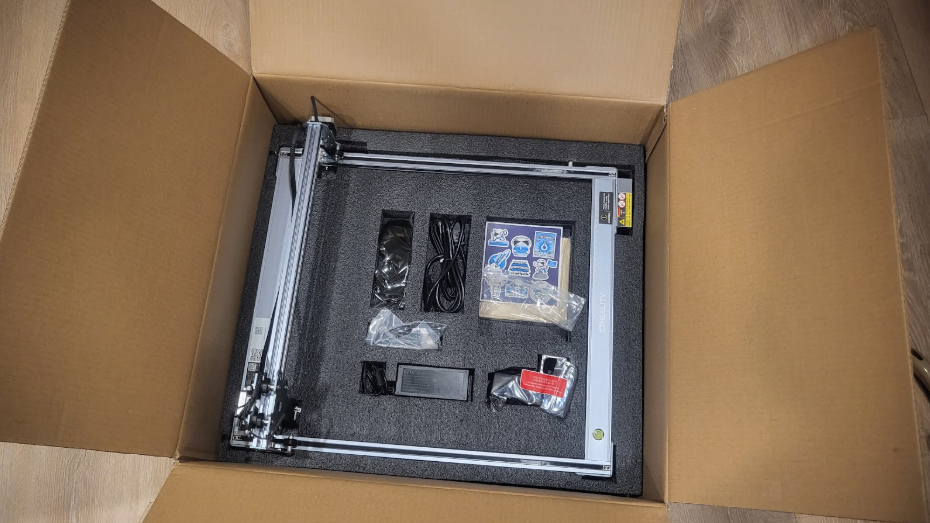
In the packaging, you receive plenty of goodies, as well as a new addition: the honeycomb workbench and the aluminum alloy sheet to go under.
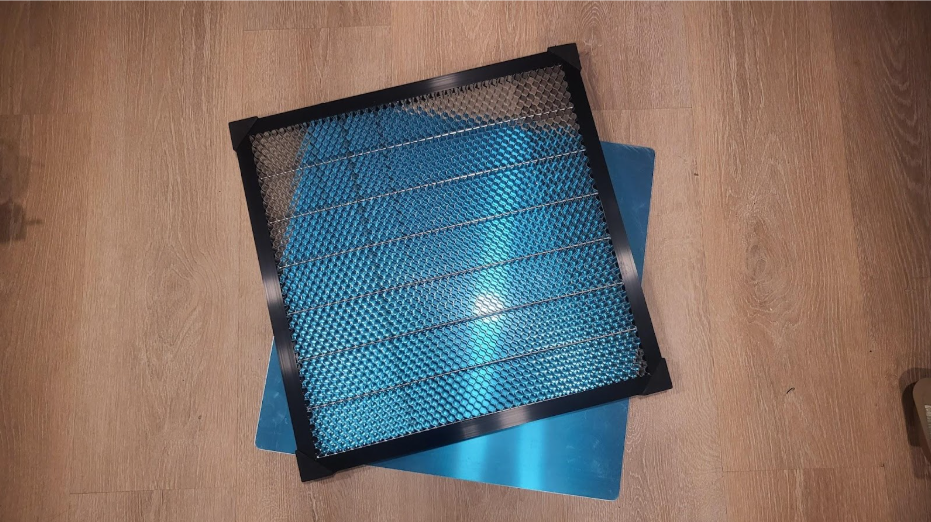
While the Falcon 10w has a working space of 400mm*415mm, the additional workbench comes in at a whopping 500mm*500mm. It is easy to say this comes ready to use right out of the box!
After downloading the Falcon software, I found it was very easy to use if you already had an SVG file that you wanted to engrave, so let’s grab a favorite of mine.
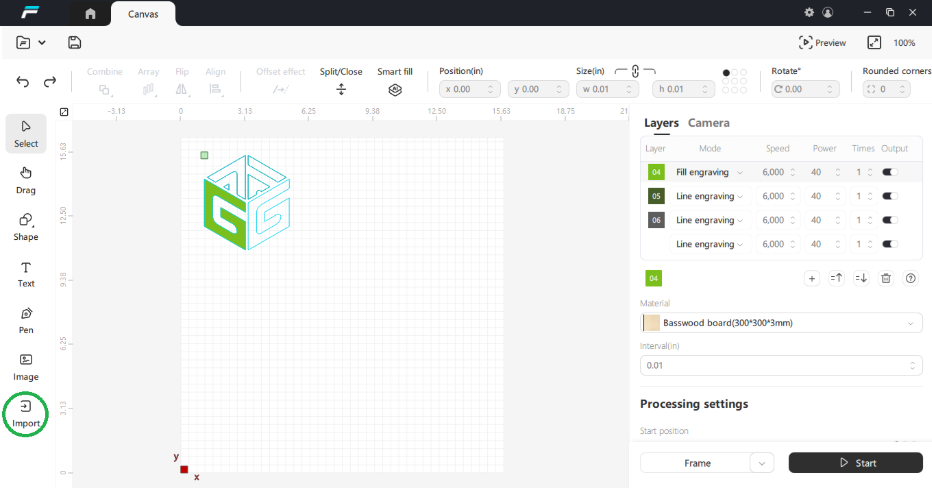
I imported my file and noticed right away the side panel showing all sections by color. You are able to combine pieces of your file to have the same settings if needed. Once I set all of the icons to Fill Engraving, I added a circle around it in Line Cutting mode.
Before starting the cut, I used the Frame option in the lower right. This caused the laser head to move in a rectangular shape, basically outlining where it was going to laser the project. This was helpful so I could maximize the amount of supplies I had.

Off it goes! It did the engraving first, as that was on the top of the layers list, then cut the circle to round it out. The software does provide an estimated time, but I have found that it isn’t always accurate.
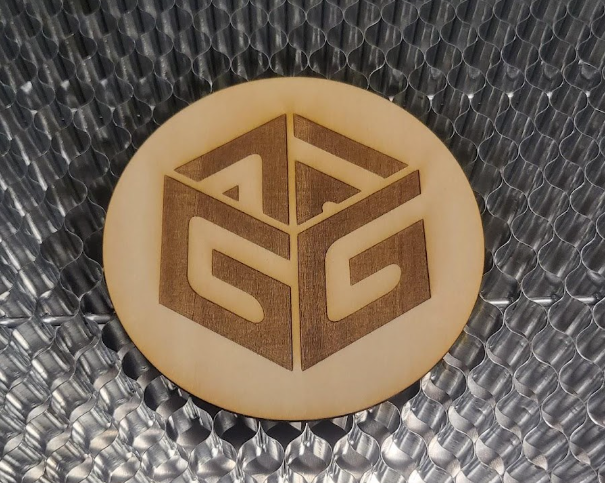
Behold, the finished product! Around the engraving site, you do see a little bit of burn, but it’s not bad considering how slow the laser moves for this process.
Now let’s see how the laser handles more intricate cuts. Below you will see 2 identical cuts, the first one was cut while having masking tape over the wood during the cut. You can see in the upper part that the burn was greatly reduced by masking the wood before, but in trying to peel it away from the rest of the design, I broke it. What that really tells me is how detailed and close the cuts are.
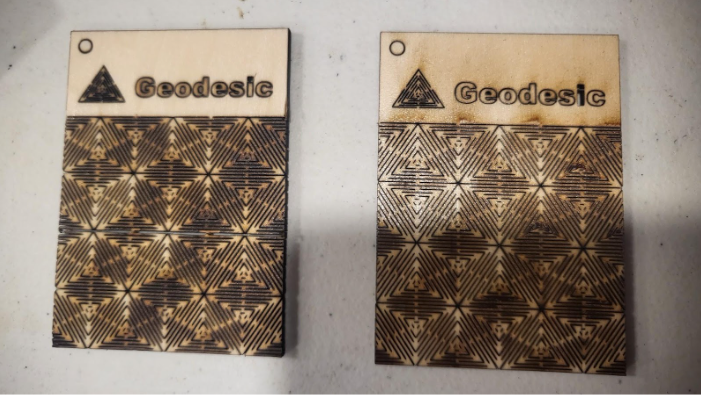
(3.25” by 2.375”)
That is why I cut another and removed the masking tape before. While there is quite a bit of burn, there is no denying that the laser was able to make very detailed cuts without overlapping.
The product advertises it can push 0.06*0.08mm laser spot, and though I don’t think we had anything that detailed; I can say that this handled everything we threw at it and more. For the price point you can find the falcon, this is a fantastic product. I don’t know if I could ask for a simper product that was as out of the box and user friendly or as capable. Virtually no setup or hardware tweaks needed. Learning the software was the only learning curve that I hit, and am still figuring out in order to maximize the Falcon. I do wish that all lasers could come with a camera for placing your material, but the framing option is a great way to show the workspace without one. I look forward to making many more projects and finding out all the Falcon handles!


